Voici le beau tissu acheté il y a peu (en coton pour intérieur et extérieur):
Hereby the fabrics (in indoor & outdoor cotton):

Laver toujours vos tissus avant de commencer un projet!
Preshrink washable fabric before cutting out the project (by washing and drying it in the same way you will care for the finished item and desize.)
1) couper le tissu au dimension de votre coussin + les marges!
Attention aussi à l'épaisseur du coussin et aux motifs de votre tissu. Il faut aligner les lignes si votre tissu est ligné, ici ce sont comme des losanges, j'ai choisi de centrer le plus gros losange au milieu du coussin.
Cut the fabric and prepare the pillow front and back according to the dimension of your pillow + the seam allowance! Follow the fabric grain line and follow the pattern if you have one.

Tracer à la craie la forme de votre coussin, épingler votre tissu pour qu'il reste bien ensemble et couper!
Mark a square according to your measurements, pin and cut:

2) Centrer votre fermeture éclaire sur un des bords (il vaut mieux dans le sens du grain du tissu), faire une marque. Par exemple, la mesure de mon coussin est de 20in, la fermeture éclaire de 14in donc à 3in de chaque côté faire une marque à la craie.
Place the pillow front over the pillow back, right sides together. Center the zipper alongside the side (where the zipper will be placed). For best results, select a side that was cut on the length grain of the fabric. Mark the seam allowances just above and below the zipper stops. Buy a conventional polyester coil zipper (not a separating style). Hereby I have a 20 square pillow and a 14'' zipper.

3) Coudre le début jusqu'à la marque faite pour le début de la fermeture éclaire. N'oubliez pas de renforcer votre couture en faisant des points arrières. Faite la même chose pour le bas.
Stich the seam allowance determined before cutting your project (for it was 1'') from the upper edge to the mark, backstitching at the beginning and at the end. Repeat at the lower edge.

4) Bâtir entre les deux coutures que vous venez de faire. Couper un point tous les 5cm de votre bâti (cela sera plus facile par la suite pour enlever votre bâti).
Machine-baste on the seam line between the marks. Clip the basting stitches every 2" with a seam ripper.
5) Repasser vos coutures afin de les ouvrir. Faire un surfilage sur les bords (juste ceux où la fermeture éclaire va être mise pour le moment) afin d'éviter que votre tissu s'effiloche.
Press open the seam allowances from the wrong side of the fabric. Finish the seam allowances with an overcasting stitch.
6) Repasser de nouveau vos coutures en faisant un rebord de 3mm sur le côté droit (afin d'attacher la fermeture éclaire par la suite). Pour ma part, j'ai un rebord de chaque côté, je trouvais cela plus facile.
Press the seam allowance so that the right side has an extra 3mm (1/8"). I did that on the both sides, it was easier for me.

7) Aligner la fermeture éclaire et épingler sur le rebord de 3mm fait préalablement.
Align the zipper teeth with the pressed edge of the fabric having the extra 3mm (1/8"), and then pin the zipper in place (over the basted part of the seam line).

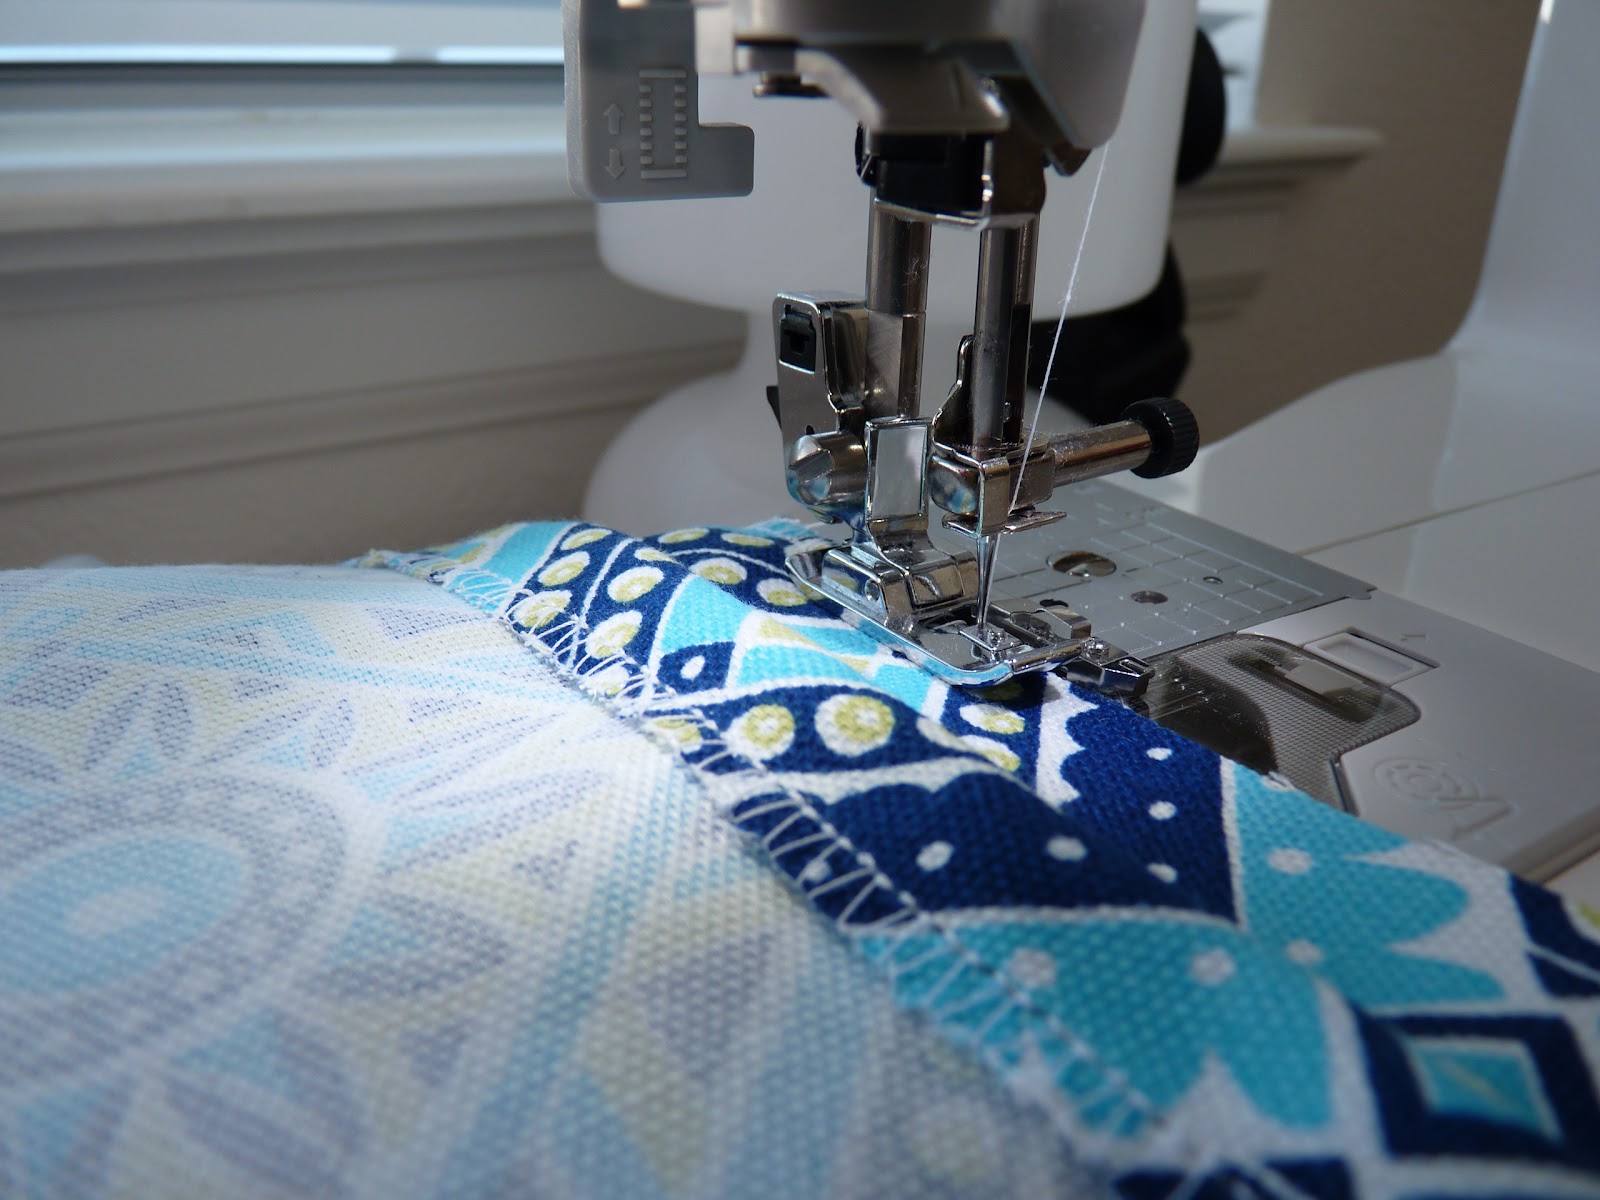
8) Attacher votre pied pour fermeture éclaire sur la petite barre à droite de celui-ci comme sur l'image ci-dessous (pied "i" pour ma machine Brother) et sélectionner un point droit où votre aiguille est centrée (point n°3 pour moi). Commencer à coudre doucement sur le rebord de 3mm au départ de la fermeture éclaire (voir photo).
Attach the presser foot holder to the right pin of zipper foot (foot "i" for my Brother) and select a straight stich (center needle position, stitch #3 for me).
Sew the zipper to the piece of fabric with the extra 3mm (1/8"), starting from the base of the zipper.

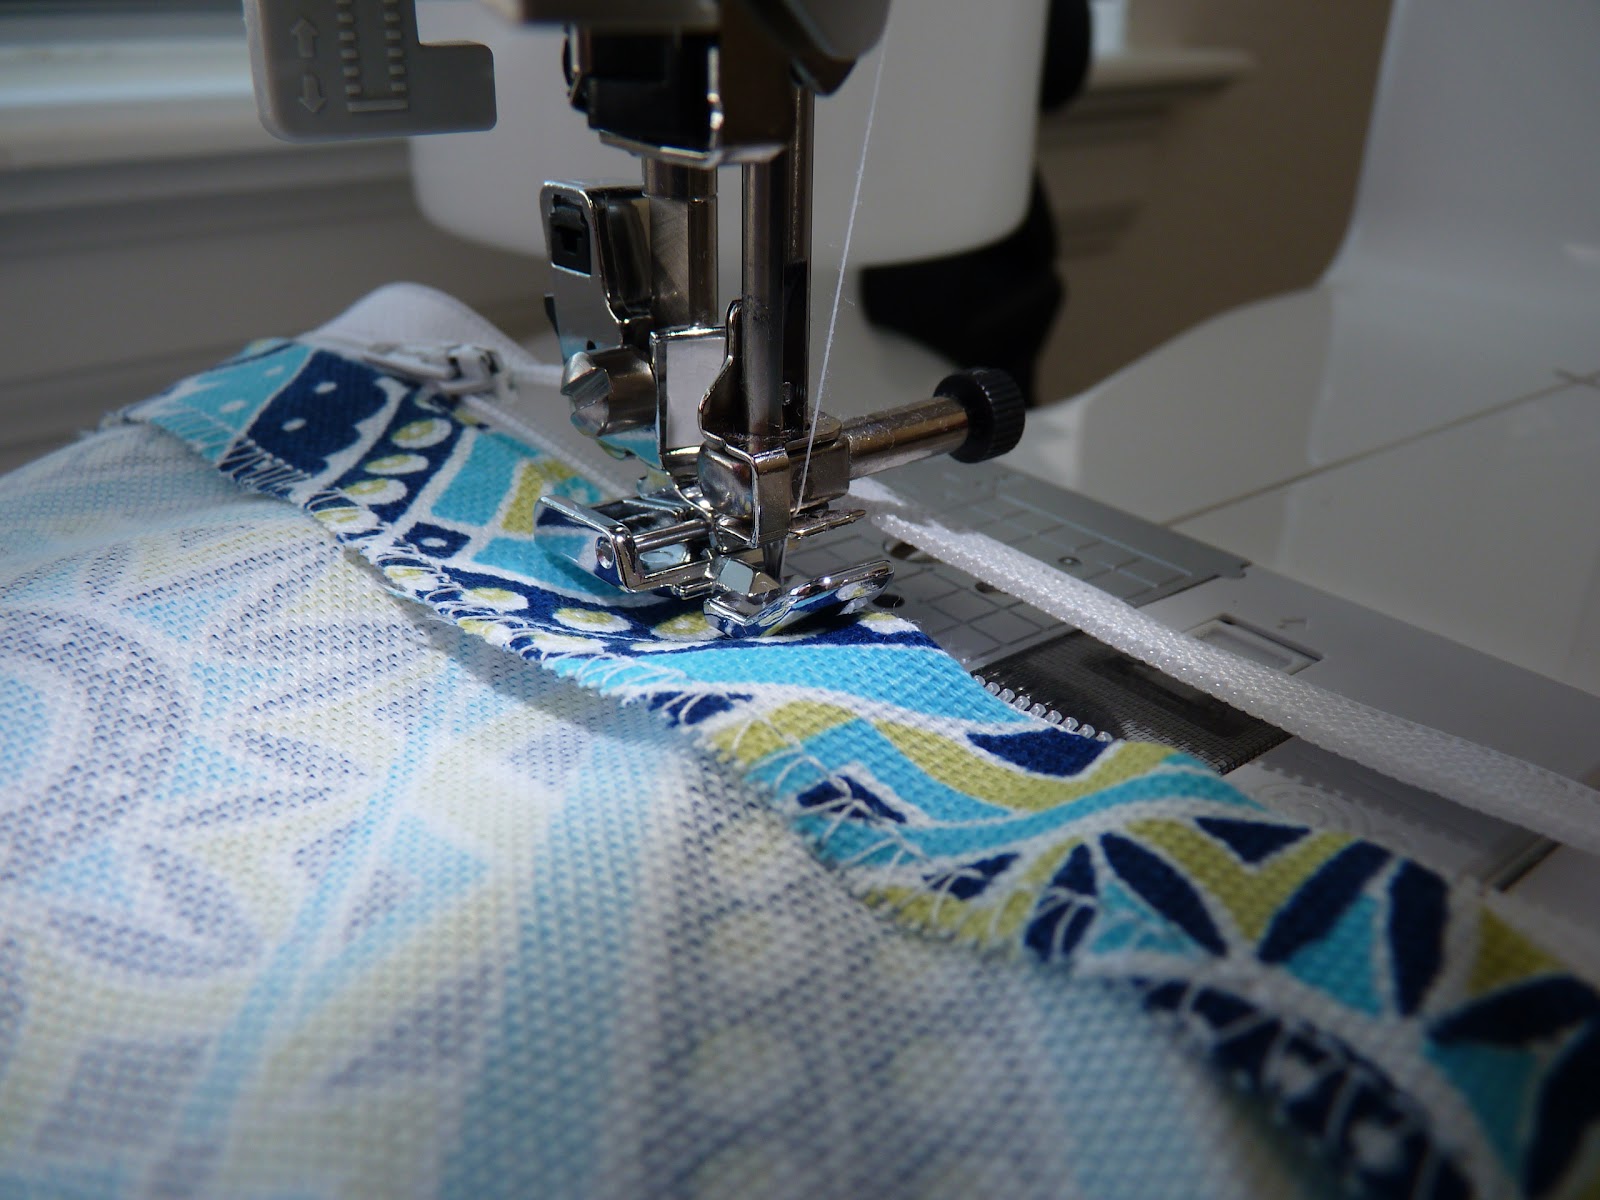
Quand vous arrivez à +/-5 cm de la fin de la fermeture éclaire, arrêter de coudre en laissant l'aiguille enfoncée dans le tissu et relever le pied, ensuite ouvrir la fermeture éclaire.
When you are about 5cm (2") from the end of the zipper, stop the sewing machine with the needle lowered (in the fabric), raise the presser foot lever , and then open the zipper and continue sewing.
9) Fermer la fermeture éclaire, retourner votre tissu, et bâtir (avec un pied normal) de l'autre côté de la fermeture éclaire pour fixer le tout.
Close the zipper, turn over the fabric, and the baste the other side of the zipper to the fabric.

10) Remettez votre pied à fermeture éclaire mais attaché du côté gauche. Surpiquer le long de la fermeture éclaire. Quand vous arrivez à 5cm de la fin, de nouveau ouvrez la fermeture éclaire en laissant l'aiguille enfoncée dans votre tissu et en levant votre pied. Il faut défaire le bâti réalisé en point 4).
Attach the presser foot holder to the other pin of zipper foot ("i"). Topstitch around the zipper.Sew reverse stitches at the end of the zipper opening and align the zipper teeth with the side of the presser foot. When you are about 5cm (2") from the end of the zipper, stop the sewing machine with the needle lowered in the fabric, and the raise the presser foot lever. Remove the basting stitching, open the zipper and the continue sewing.

Open the zipper, pin the pillow front and back, right sides together, along the three remaining sides. Stitch seam, press, overcast. Cut each corner. Turn the pillow cover right side out and with a little tool press out each corner, so they will be nice! Insert the pillow form form through the zipper opening and Voilà!


Mais qu'ils sont beaux ces coussins, je pense que je vais revenir avec des nouvelles housses pour le miens quand je vais venir !!!
RépondreSupprimerHello nice blogg
RépondreSupprimer